How to Install Minecraft Server on Ubuntu 16.04 or 18.04
This post will guide you how to install and configure Minecraft server to set up a personal Game server on Ubuntu 16.04 or 18.04 or Debian Linux. How to setup a Minecraft server to play game from the official website of Minecraft in your Ubuntu system. Or How to install Minecraft through Snap tool. How do I use APT Package manager to install Minecraft.
- What is Minecraft?
- Installing Java (JRE or OpenJDK)
- Method1: Installing Minecraft with the Official JAR Package
- Method2: Installing Minecraft through Snap Tool
- Method3: Installing Minecraft Using PPA

What is Minecraft?
Minecraft is one of the most popular games in the world. Minecraft is a sandbox video game, and it created by game developer and released in 2011. And this game will allow players to build with variety of different blocks in 3D procedurally generated world, requiring creativity from player. And this game is also available on Linux system, and you can also use it to play games on your Linux system.
Minecraft also allows you to play game online with your friends as well as in single player mode. You and other players are free to build and explore anything that you want in 3D generated world. And If you setup your personal Minecraft server, and you can define the rules, and then you and your friends can play together in your server.
As Minecraft is developed with Java program language. To run Minecraft software, you need to have JRE environment on your Ubuntu system. If not, you need to install Java development Kit or JRE only on your Ubuntu system. Then you can install Minecraft package.
Installing Java (JRE or OpenJDK)
Java Development kit is already available on the default repository of Ubuntu 16.04 or 18.04 Linux. So You can install it with the following commands:
$ sudo apt update
$ sudo apt install openjdk-8-jdk
Outputs:
devops@devops-VirtualBox:~$ sudo apt update
[sudo] password for devops:
Hit:1 http://mirrors.aliyun.com/ubuntu bionic InRelease
Hit:2 http://mirrors.aliyun.com/ubuntu bionic-security InRelease
Hit:3 http://mirrors.aliyun.com/ubuntu bionic-updates InRelease
Get:4 http://mirrors.aliyun.com/ubuntu bionic-backports InRelease [74.6 kB]
Hit:5 http://mirrors.aliyun.com/ubuntu bionic-proposed InRelease
Fetched 74.6 kB in 1s (96.2 kB/s)
Reading package lists... Done
Building dependency tree
Reading state information... Done
1 package can be upgraded. Run 'apt list --upgradable' to see it.
devops@devops-VirtualBox:~$


devops@devops-VirtualBox:~$ sudo apt install openjdk-8-jdk
Reading package lists... Done
Building dependency tree
Reading state information... Done
The following package was automatically installed and is no longer required:
libllvm7
Use 'sudo apt autoremove' to remove it.
The following additional packages will be installed:
ca-certificates-java fonts-dejavu-extra java-common libatk-wrapper-java libatk-wrapper-java-jni libgif7
libice-dev libpthread-stubs0-dev libsm-dev libx11-dev libx11-doc libxau-dev libxcb1-dev libxdmcp-dev libxt-dev
openjdk-8-jdk-headless openjdk-8-jre openjdk-8-jre-headless x11proto-core-dev x11proto-dev xorg-sgml-doctools
xtrans-dev
Suggested packages:
default-jre libice-doc libsm-doc libxcb-doc libxt-doc openjdk-8-demo openjdk-8-source visualvm icedtea-8-plugin
fonts-ipafont-gothic fonts-ipafont-mincho fonts-wqy-microhei fonts-wqy-zenhei
The following NEW packages will be installed:
ca-certificates-java fonts-dejavu-extra java-common libatk-wrapper-java libatk-wrapper-java-jni libgif7
libice-dev libpthread-stubs0-dev libsm-dev libx11-dev libx11-doc libxau-dev libxcb1-dev libxdmcp-dev libxt-dev
openjdk-8-jdk openjdk-8-jdk-headless openjdk-8-jre openjdk-8-jre-headless x11proto-core-dev x11proto-dev
xorg-sgml-doctools xtrans-dev
0 upgraded, 23 newly installed, 0 to remove and 1 not upgraded.
Need to get 42.8 MB of archives.
After this operation, 166 MB of additional disk space will be used.
Do you want to continue? [Y/n]
Note: you need to press Y then Enter key to continue the installation process.
After OpenJDK is installed, you can check the version of Java installed with the following command:
$ java -version
You can see the following outputs:
devops@devops-VirtualBox:~$ java -version
openjdk version "1.8.0_212"
OpenJDK Runtime Environment (build 1.8.0_212-8u212-b03-0ubuntu1.18.04.1-b03)
OpenJDK 64-Bit Server VM (build 25.212-b03, mixed mode)
This post will guide you through third of the easiest ways to install Minecraft on your Ubuntu 16.04 or 18.04 or other Debian Linux.
Method1: Installing Minecraft with the Official JAR Package
Step1: downloading Minecraft JAR package or Deb package.
You can download the Linux version of Minecraft from its official website, and it will download an executable JAR file. Just run the below wget command to download Minecraft package, type:
$ wget https://launcher.mojang.com/v1/objects/808be3869e2ca6b62378f9f4b33c946621620019/server.jar
Or you can also directly download a Deb package from the Official website with wget command, type:
$ wget https://launcher.mojang.com/download/Minecraft.deb
Step2: For Jar package, you can create a script to run the Minecraft server, using vim or vi text editor to open a file call run.sh, then add the below lines into it.
$ sudo vim run.sh
Add the Lines:
#!/bin/sh
java -Xmx1024M -Xms1024M -jar minecraft_server.1.14.2.jar nogui
Note: Should you want to start the server with its graphical user interface you can leave out the “nogui” part.
Step3: you need to make run.sh as executable with the command below:
$ chomod u+x run.sh
Then you can execute this run.sh file, and the first time you run the Minecraft server, it will create an EUA file, then exit.
$ ./run.sh
[11:02:01] [Server thread/INFO]: Starting minecraft server version 1.14
[11:02:01] [Server thread/INFO]: Loading properties
[11:02:01] [Server thread/WARN]: server.properties does not exist
[11:02:01] [Server thread/INFO]: Generating new properties file
[11:02:01] [Server thread/WARN]: Failed to load eula.txt
[11:02:01] [Server thread/INFO]: You need to agree to the EULA in order to run the server. Go to eula.txt for more info.
[11:02:01] [Server thread/INFO]: Stopping server
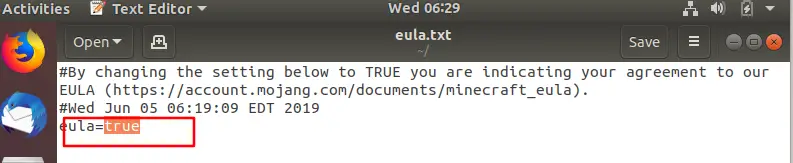
So you need to open the eula.txt file and change the value of eula to true. Then rerun run.sh script.
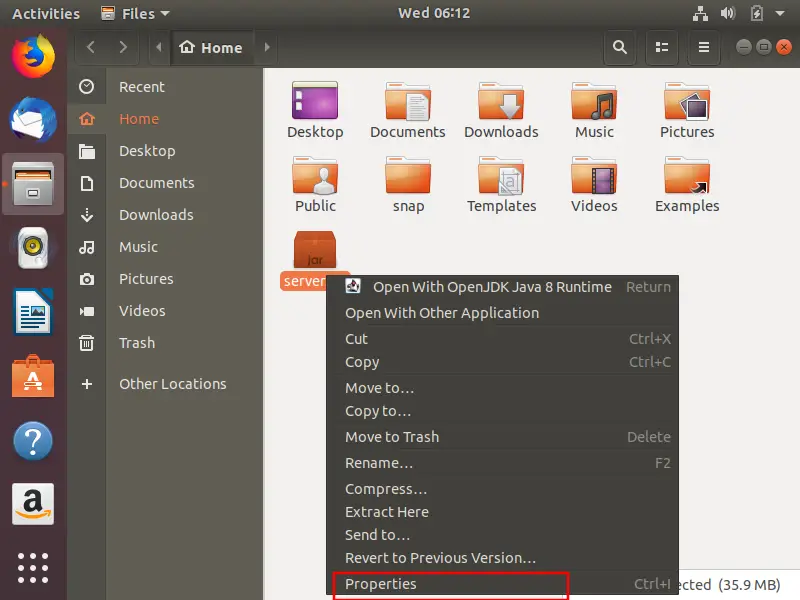
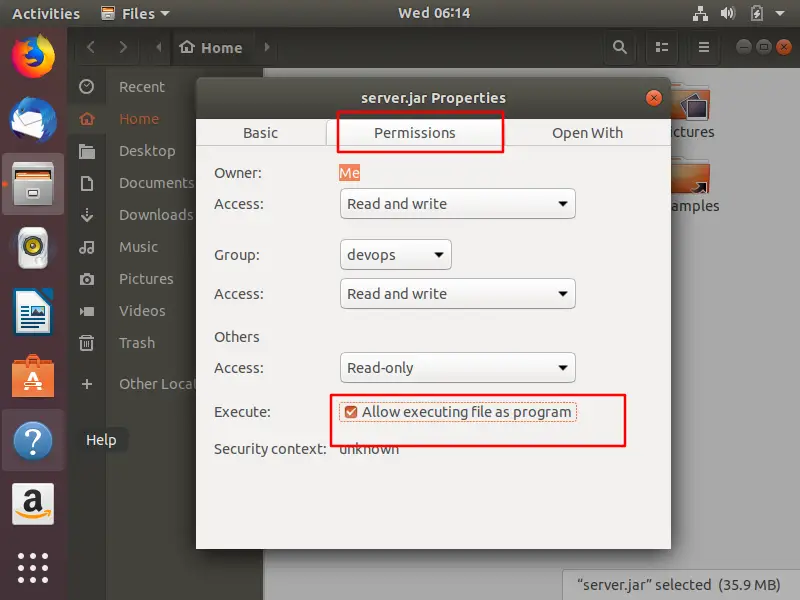
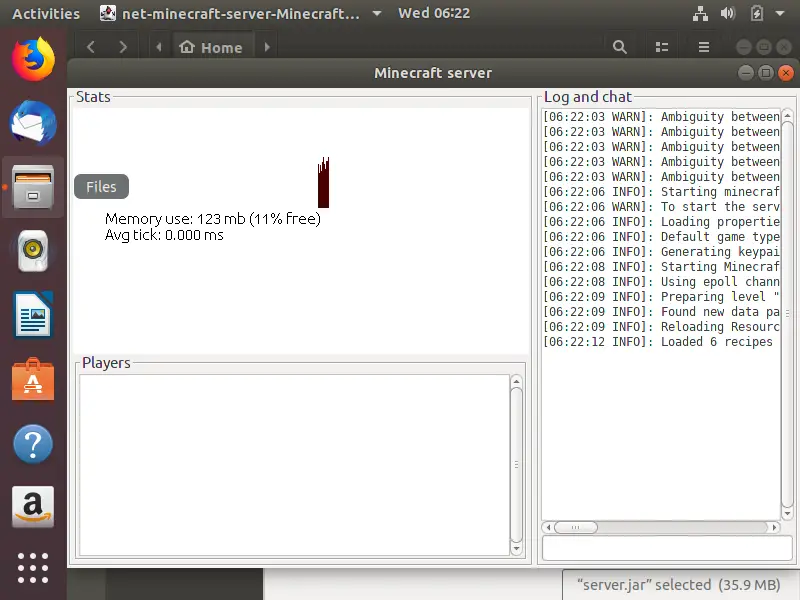
You can also run this Jar package in Ubuntu GUI, you need to make JAR package as executable. Just right click on the Server.jar file and click on Properties menu from the popup menu list. And then click on the Permissions, tab, choose Allow executing file as program checkbox. Then close the window.
Then you can right click on the Server.jar file and click on Open with OpenJDK Java 8 Runtime to run it. It will downloading Minecraft launcher.
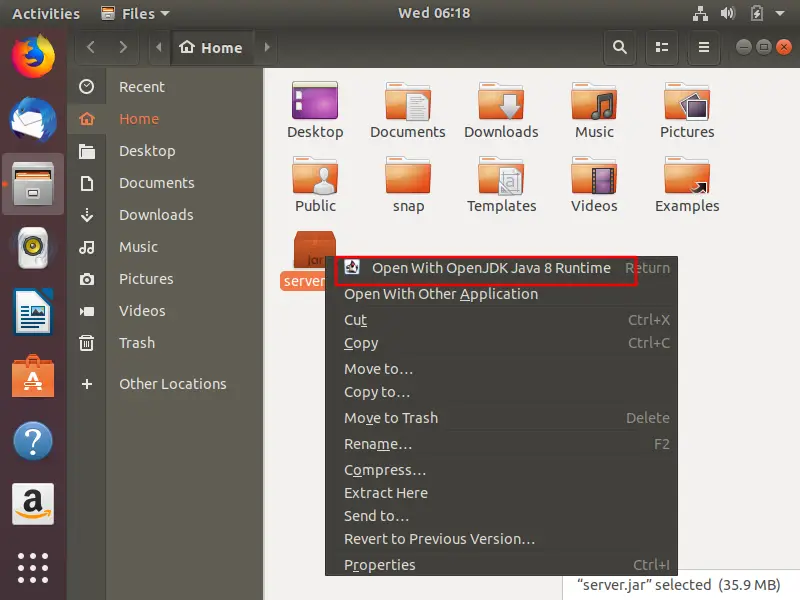
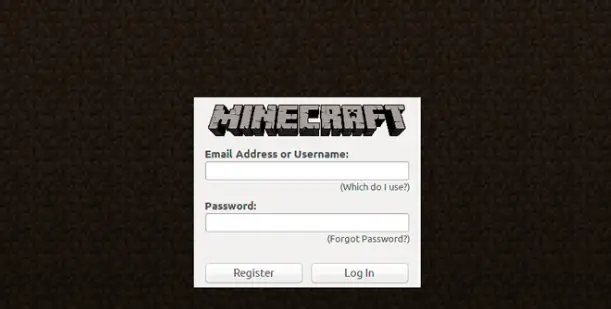
Once the launcher download is complete, the Minecraft login window will appear.
Note: you also need to change the value of eula to true in eula.txt file in GUI installation.
For Deb package:
You can use gdebi tool to install it, just install gdebi tool firstly, then install Minecraft deb package. Using the following commands:
$ sudo apt install gdebi-core
$ sudo gdebi Minecraft.deb
Outputs:
devops@devops-VirtualBox:~$ sudo gdebi Minecraft.deb
Reading package lists... Done
Building dependency tree
Reading state information... Done
Reading state information... Done
Requires the installation of the following packages: gconf-service gconf-service-backend gconf2-common libgconf-2-4 libpango1.0-0 libpangox-1.0-0
Official Minecraft Launcher
Do you want to install the software package? [y/N]:y
Official Minecraft Launcher
Do you want to install the software package? [y/N]:y
Get:1 http://mirrors.aliyun.com/ubuntu bionic/universe amd64 libpangox-1.0-0 amd64 0.0.2-5 [41.7 kB]
……
(Reading database ... 168020 files and directories currently installed.)
Preparing to unpack Minecraft.deb ...
Unpacking minecraft-launcher (2.1.3676) ...
Setting up minecraft-launcher (2.1.3676) ...
Processing triggers for gnome-menus (3.13.3-11ubuntu1.1) ...
Processing triggers for desktop-file-utils (0.23-1ubuntu3.18.04.2) ...
Processing triggers for mime-support (3.60ubuntu1) ...
Processing triggers for hicolor-icon-theme (0.17-2) ...
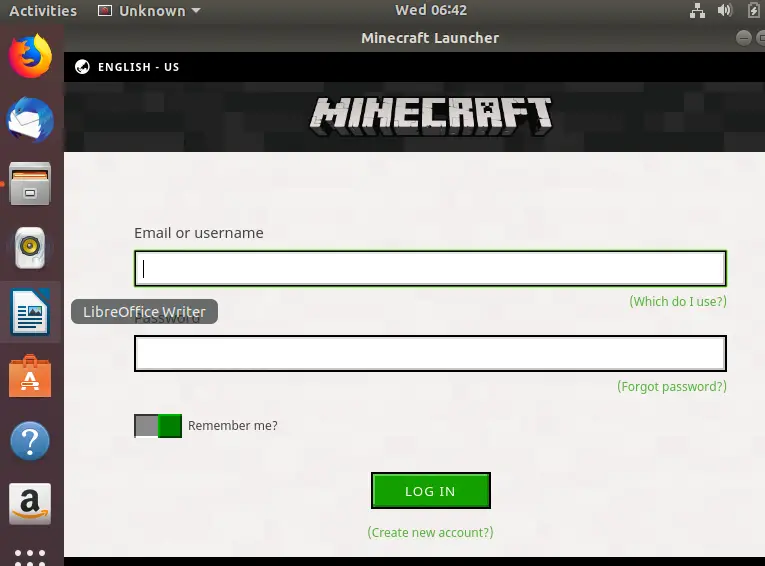
Then you can search Minecraft in Activities, and click Minecraft launcher icon to launch it. And you need to be patient, it may take a few minutes for the Minecraft application to start.

Method2: Installing Minecraft through Snap Tool
You can also use snap tool to install Minecraft on your Ubuntu system, just execute one single command as below:
$ sudo snap install Minecraft
Once done, you can start Minecraft by running minecraft command in the Ubuntu terminal or launch it from Activities menu.
$ minecraft
Method3: Installing Minecraft Using PPA
You can also install Minecraft tool using the third PPA repository. Just do the following command:
$ sudo add-apt-repository ppa:flexiondotorg/Minecraft
Outputs:
devops@devops-VirtualBox:~$ sudo add-apt-repository ppa:flexiondotorg/minecraft
This PPA includes installers for Minecraft, Minecraft Server and Minecraft Pi Edition.
More info: https://launchpad.net/~flexiondotorg/+archive/ubuntu/minecraft
Press [ENTER] to continue or Ctrl-c to cancel adding it.

Hit:1 http://mirrors.aliyun.com/ubuntu bionic InRelease
Hit:2 http://mirrors.aliyun.com/ubuntu bionic-security InRelease
Hit:3 http://mirrors.aliyun.com/ubuntu bionic-updates InRelease
Get:4 http://mirrors.aliyun.com/ubuntu bionic-backports InRelease [74.6 kB]
Hit:5 http://mirrors.aliyun.com/ubuntu bionic-proposed InRelease
Get:6 http://ppa.launchpad.net/flexiondotorg/minecraft/ubuntu bionic InRelease [15.4 kB]
Get:7 http://ppa.launchpad.net/flexiondotorg/minecraft/ubuntu bionic/main amd64 Packages [1,944 B]
Get:8 http://ppa.launchpad.net/flexiondotorg/minecraft/ubuntu bionic/main i386 Packages [1,944 B]
Get:9 http://ppa.launchpad.net/flexiondotorg/minecraft/ubuntu bionic/main Translation-en [956 B]
Fetched 94.8 kB in 3s (27.4 kB/s)
Reading package lists... Done
Then the PPA should be added into the default APT repository, and you still need to update the default APT package repository cache with the following command:
$ sudo apt update
Next, you can try to install Minecraft from this PPA with the commands:
$ sudo apt install Minecraft-installer
Outputs:
devops@devops-VirtualBox:~$ sudo apt install minecraft-installer
Reading package lists... Done
Building dependency tree
Reading state information... Done
The following package was automatically installed and is no longer required:
libllvm7
Use 'sudo apt autoremove' to remove it.
The following additional packages will be installed:
default-jre default-jre-headless openjdk-11-jre openjdk-11-jre-headless
Suggested packages:
fonts-ipafont-gothic fonts-ipafont-mincho fonts-wqy-microhei | fonts-wqy-zenhei
The following NEW packages will be installed:
default-jre default-jre-headless minecraft-installer openjdk-11-jre openjdk-11-jre-headless
0 upgraded, 5 newly installed, 0 to remove and 0 not upgraded.
Need to get 37.2 MB of archives.
After this operation, 170 MB of additional disk space will be used.
Do you want to continue? [Y/n]Y
Then the APT package manager should start to download Minecraft package and its all dependences.
Once installed, you can start it from Activities menu.
Conclusion
You should know that how to install Minecraft server successfully on your Ubuntu 18.04 or 16.04 Linux or Debian Linux. And you can now play Minecraft in a persistent world with your good friends.